
Boiling chicken is a kitchen skill that every home cook should master. Whether you need shredded chicken for tacos, slices for a quick salad, or tender meat for soups and stews, boiling chicken offers a simple and efficient way to achieve juicy, moist results. This method is incredibly useful for meal prep, quick dinners, and even light soups. Instead of relying on store-bought rotisserie chicken or expensive pre-cooked options, you can achieve tender, flavorful meat right at home.
One of the great advantages of boiling chicken is how you can customize it with your choice of seasonings and aromatics, turning a basic dish into a rich, flavorful delight. You retain moisture, save money, and infuse your chicken with subtle, tasty hints of herbs and spices. And once you boil the chicken, you’re left with a delicious broth that you can use in countless recipes—from cooking rice to adding depth to soups or even sipping it as a standalone broth.
This method is often referred to as poaching, although technically, it’s not boiling the chicken the entire time. Instead, it involves an initial boil to bring the water to temperature and then a gentle simmer to finish cooking the meat. Whether you’re using it for salads, burritos, soups, or casseroles, learning how to boil chicken is a fundamental skill that pays off in so many recipes and kitchen shortcuts. Let’s dive into everything you need to know about boiling chicken!
Why You’ll Love This Recipe
When you boil chicken, you get more than just a protein source—you get a kitchen staple. Here’s why this method is a must-have in your cooking toolkit:
- Moist and Tender Meat – Boiling gently retains the moisture of your chicken, resulting in tender meat that doesn’t dry out.
- Flavor Infusion – Adding herbs and spices to the water while boiling allows the flavors to penetrate the meat, making it tastier than typical cooking methods.
- Budget-Friendly – A cost-effective way to prepare meat without compromising on quality.
- Versatile – Boiled chicken can be shredded, sliced, or diced for countless recipes.
- Convenient and Quick – Perfect for quick weeknight meals and meal prep for lunches and dinners.

Ingredients Overview
- 1 to 4 boneless, skinless chicken breasts (approximately 12 ounces each)
- 1 teaspoon salt
- Optional seasonings:
- Smashed garlic cloves
- Bay leaves
- Peppercorns
- Sliced ginger
- Sliced lemons or oranges
- Sliced onions or celery
- Fresh rosemary
- Fresh thyme
How to Make Boil Chicken
Step 1: Place the Chicken in the Pan
Start by placing your chicken breasts in a large pan in a single layer at the bottom. Don’t worry if the pieces overlap slightly; just ensure that they’re arranged evenly. An even layer ensures the chicken cooks uniformly and remains tender.
Step 2: Cover with Water and Add Salt & Seasonings
Pour about an inch of water over the chicken until it’s just covered. Add 1 teaspoon of salt to the water to season the meat. Now, add your desired optional seasonings to enhance the flavor of your chicken:
- For classic flavors: Smashed garlic cloves, bay leaves, peppercorns.
- For a zesty twist: Sliced lemon or orange slices.
- For earthy richness: Fresh rosemary, thyme, and sliced onions.
- For an Asian flair: Sliced ginger and peppercorns.
The water becomes your poaching liquid, which will season the chicken as it cooks and result in a rich broth full of flavor.
Step 3: Bring the Water to a Boil
Turn your stove to medium-high heat and bring the water to a boil. As the water comes to a boil, foam will start to form on the surface. If you plan to use the broth in recipes or serve it separately, skim off the foam. However, if you’re just using the chicken, it’s fine to leave it on the surface.
Boiling the water initially ensures the chicken reaches a high temperature quickly, which helps retain moisture. This quick boil is just to bring everything up to temperature before you reduce the heat for the simmering stage.
Step 4: Cover and Simmer the Chicken
Once the water reaches a boil, reduce the heat to low, cover the pan with a lid, and let it simmer. For thin cutlets, simmer for about 8 minutes. For larger chicken breasts, simmer for about 15 minutes, and for bone-in breasts, it takes around 20 minutes.
The goal here is to poach, not boil aggressively. This method prevents the meat from becoming dry and tough. Continue checking the chicken regularly to make sure it’s fully cooked.
Step 5: Check the Chicken for Doneness
To ensure that your chicken is fully cooked:
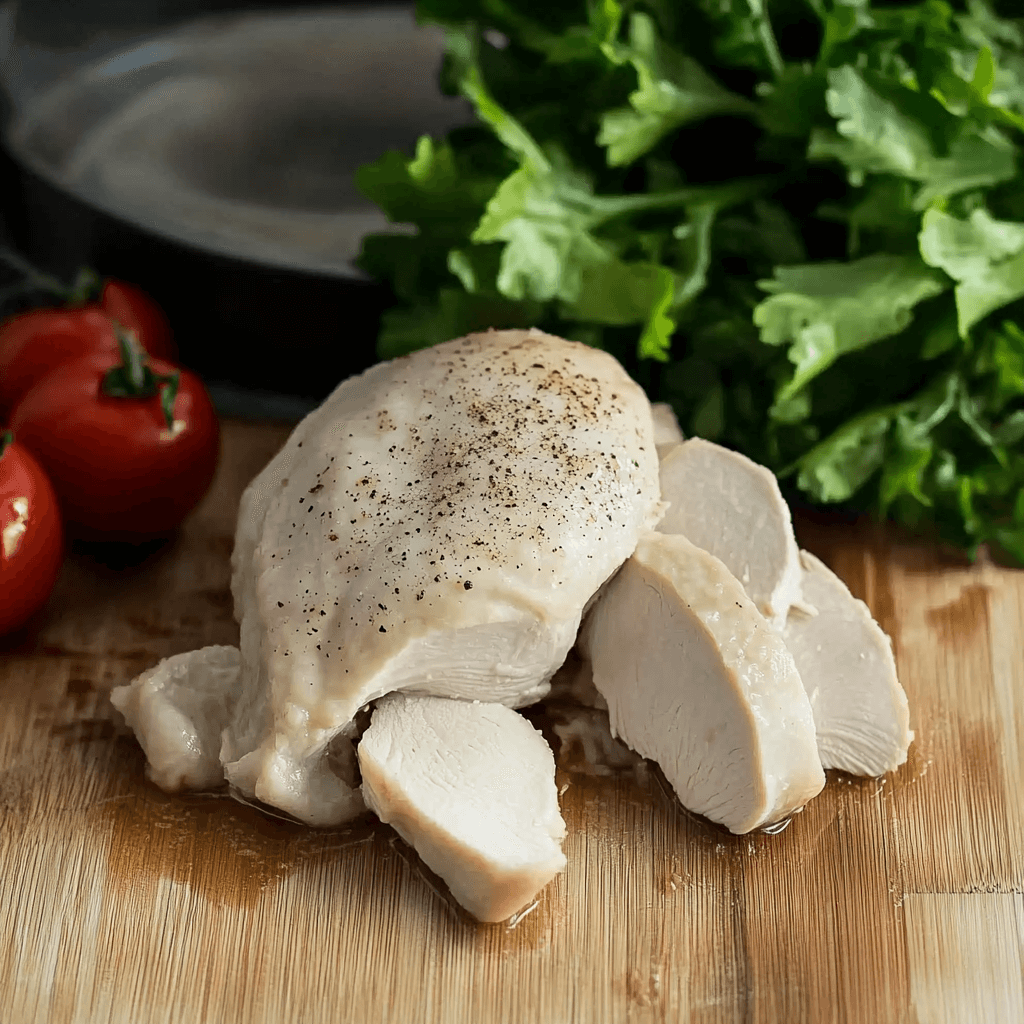
- Use an Instant-Read Thermometer: Insert it into the thickest part of the meat. The internal temperature should read 165°F (74°C).
- Slice and Check: Alternatively, cut into the chicken. It should be completely white with no pink areas and should be firm but tender.
Continue cooking and checking the chicken every minute until it is fully cooked. Avoid overcooking, as it can result in dry meat.
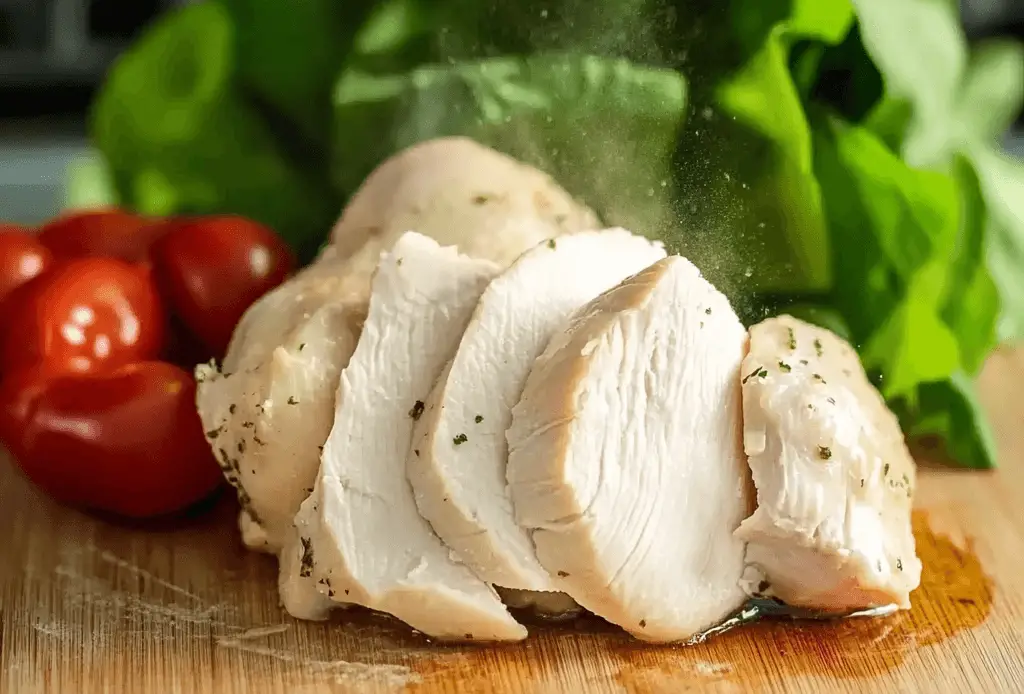
Step 6: Cool, Shred, or Slice the Chicken
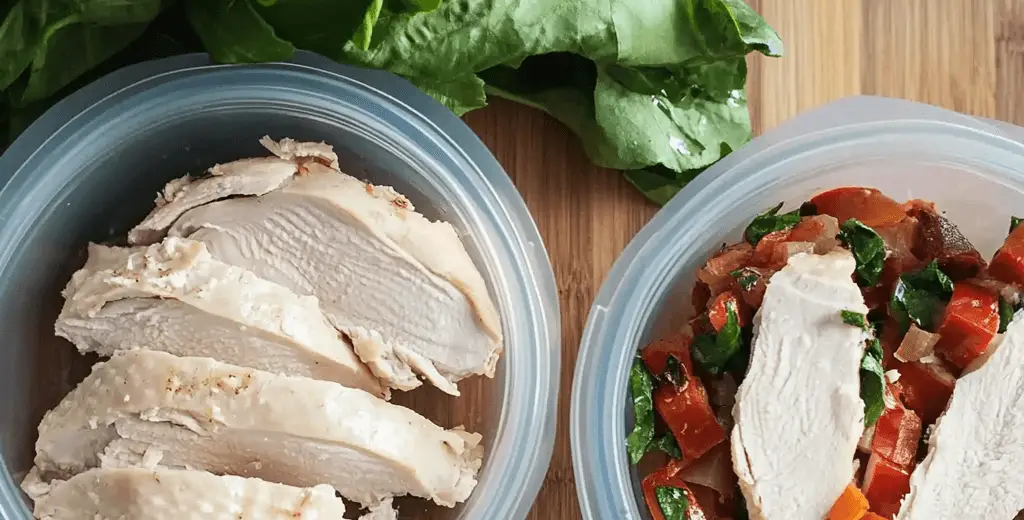
Remove the chicken from the broth and place it on a cutting board. Let it cool slightly, then shred or slice it as needed. You can use shredded or sliced chicken in:
- Salads: Add it to Caesar or Cobb salads.
- Tacos and Burritos: Perfect for quick taco fillings and burrito bowls.
- Soups and Stews: Great for hearty soups and creamy stews.
- Casseroles and Sandwiches: A versatile ingredient for casseroles and sandwiches.
Step 7: Store and Freeze Boiled Chicken
If you’re not using the chicken right away, let it cool completely and store it in an airtight container in the refrigerator. It will last for up to 5 days. For longer storage, you can freeze boiled chicken for up to 3 months. Before freezing, shred or slice the chicken into portions for easy thawing.
Don’t discard the cooking liquid—it turns into a savory chicken broth that can replace store-bought broth in recipes, add depth to grains like rice, or even be sipped on its own for a healthy boost of flavor.
Tips for the Best Boiled Chicken
- Layer Everything Evenly: Ensure a single layer of chicken in the pan to prevent uneven cooking.
- Experiment with Seasonings: Customize your chicken broth with your favorite seasonings and aromatics.
- Monitor Temperature: Consistently check the chicken’s internal temperature to avoid overcooking.
- Reuse the Broth: Save the broth for soups, risottos, grains, and sauces.
Frequently Asked Questions (FAQs)
Q: Can I use frozen chicken breasts?
A: Yes, you can boil frozen chicken breasts, but you’ll need to increase the cooking time slightly, about 20 minutes, depending on their size.
Q: Is boiling chicken the same as poaching chicken?
A: Technically, poaching is simmering chicken gently in liquid at low heat, while boiling brings the liquid to a high boil initially. In this method, you only boil initially and then simmer to ensure tender meat.
Q: How do I prevent the chicken from becoming dry?
A: Boiling briefly and then simmering the chicken gently prevents drying out. Using seasonings in your broth also enhances moisture retention.

How to Store and Reheat Boiled Chicken
- Refrigeration: Keep cooked chicken in an airtight container in the fridge for up to 5 days.
- Freezing: For longer-term storage, freeze shredded or sliced chicken portions for up to 3 months.
- Reheating: Gently reheat in a pan over low heat or microwave with a bit of broth to retain moisture.
Conclusion
Boiling chicken is a simple and versatile cooking method that yields tender meat with customizable flavors. Whether you’re preparing quick dinners, meal-prepping for the week, or creating rich soups and casseroles, knowing how to boil chicken gives you a reliable and cost-effective kitchen tool. Plus, the broth leftover from boiling adds a unique layer of flavor to grains, soups, and sauces.
This method saves time, minimizes waste, and maximizes your kitchen efficiency. Once you’ve mastered boiling chicken, you’ll be able to enjoy healthier, more cost-effective meals without compromising taste or texture.