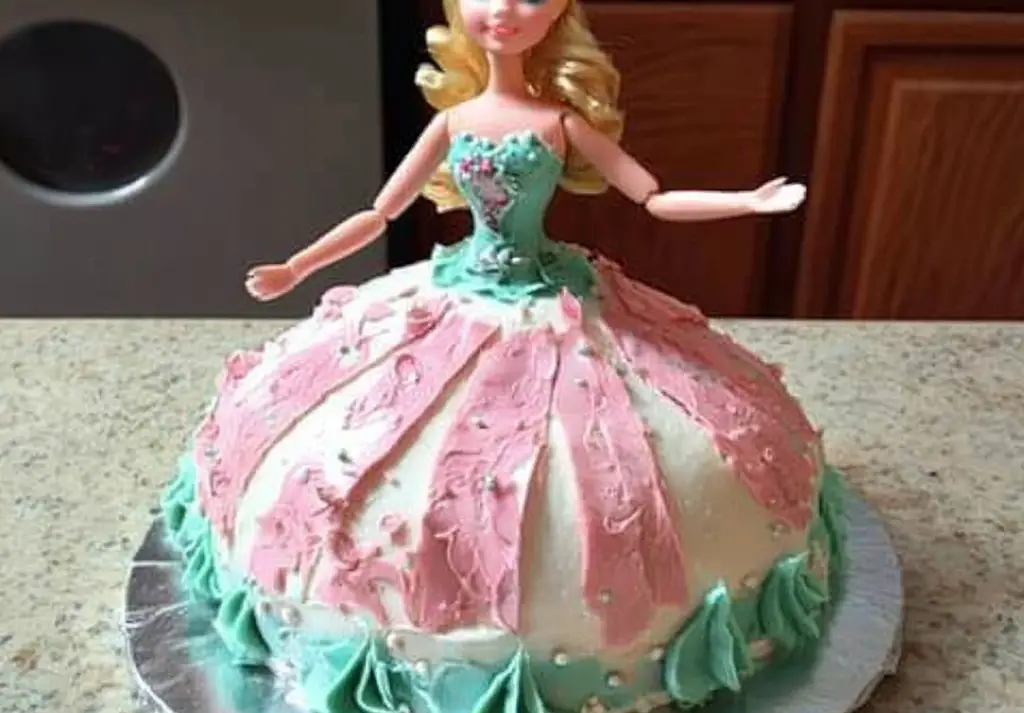


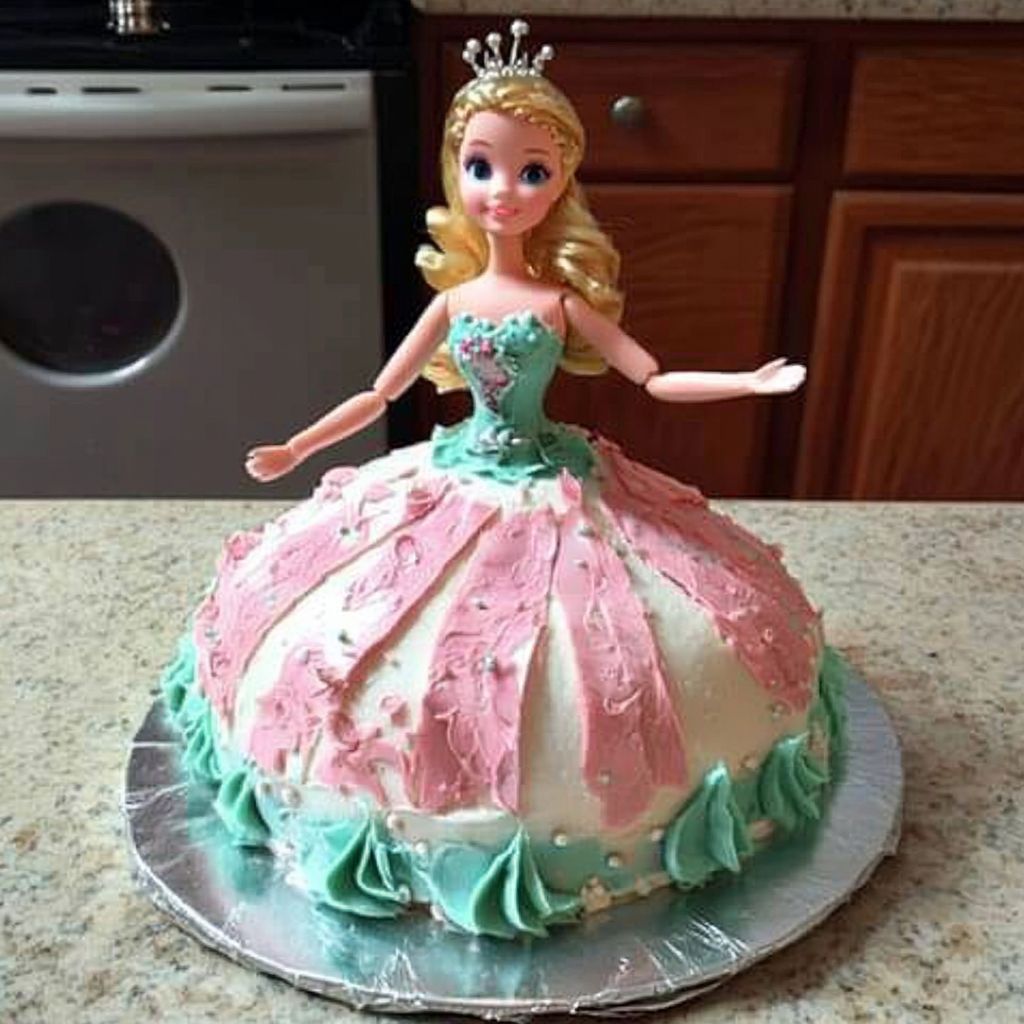
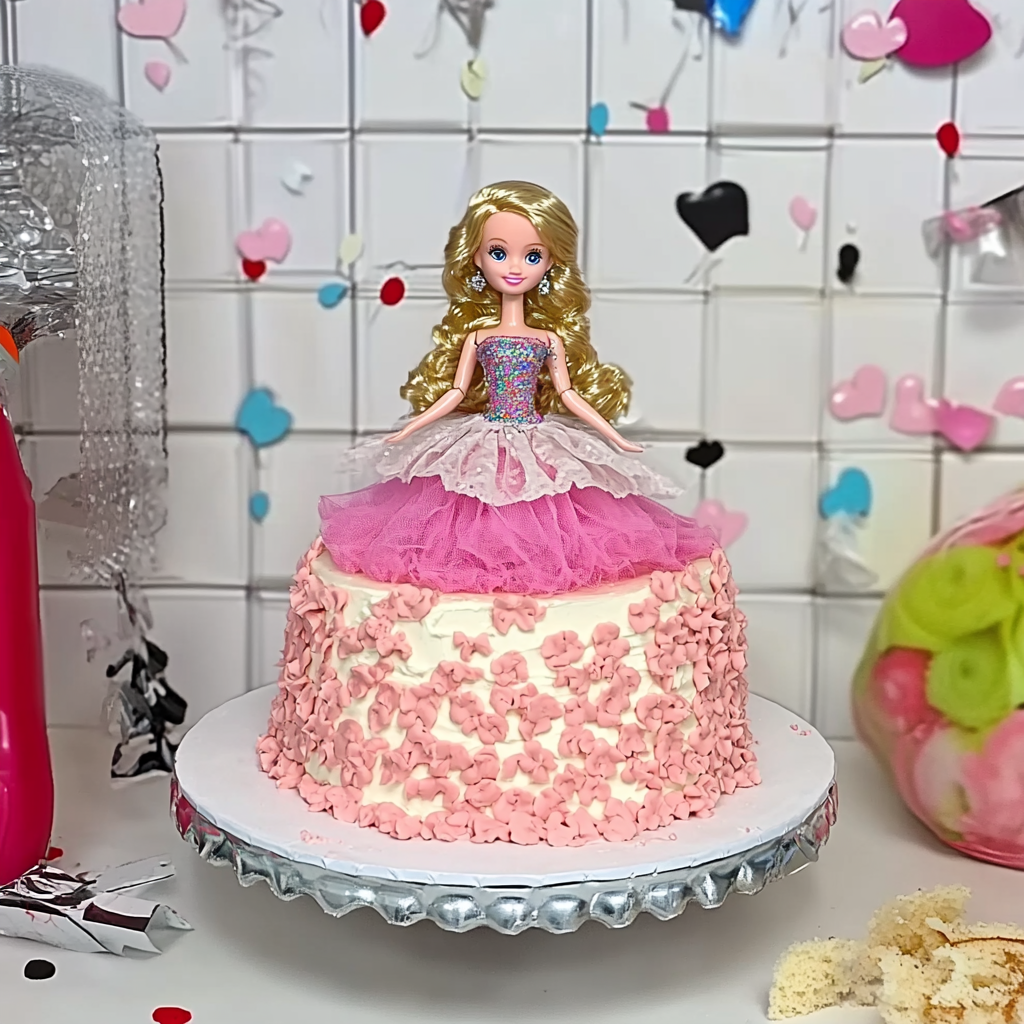
Creating a Barbie Doll Cake is a fun, imaginative, and show-stopping dessert idea that brings joy to birthdays, parties, and special celebrations. This cake isn’t just a treat; it’s a centerpiece that captures the excitement and creativity of a doll-inspired dessert. The skirt of the cake becomes a stunning dress made entirely of layers of fluffy cake and icing, while the Barbie doll at the center adds a magical touch. Whether you’re making it for a child’s birthday party or a whimsical celebration, this cake is sure to delight and impress everyone at the table.
This cake is a wonderful combination of baking and decorating, offering endless possibilities to customize the icing and add vibrant colors, glitter, and sprinkles. The process of assembling the cake is both creative and enjoyable, turning an ordinary baking session into an extraordinary culinary project. You don’t need to be a professional baker to make this Barbie Doll Cake; all you need is a bit of patience and creativity. Plus, you can customize the color and design to match any theme or party decor. It’s a fun, show-stopping creation that’s guaranteed to be a hit with kids and adults alike!
Let’s dive into how to make this enchanting Barbie Doll Cake step by step, from gathering your ingredients to assembling and decorating this dazzling creation. By the end of this guide, you’ll have a magical cake that not only tastes delicious but also looks incredibly impressive.
Why You’ll Love This Recipe
- Fun and Creative: A whimsical and stunning centerpiece for any party or celebration.
- Easy to Customize: You can change the color scheme and decoration style to match any theme.
- Impressive Presentation: The Barbie at the center makes it a show-stopping dessert centerpiece.
- Perfect for Any Occasion: Birthdays, parties, baby showers, or any special gathering.
- Simple Ingredients: A straightforward cake mix and frosting ensure quick preparation.
- Interactive Decorating: Add your personal touch with icing decoration and custom flair
Ingredients Overview
For the Cake:
- 1 (18.25-ounce) package yellow cake mix
For the Frosting:
- 2 (16-ounce) packages vanilla frosting
- 1 drop red food coloring (optional)
How to Make Barbie Doll Cake
Step 1: Preheat Your Oven and Prepare the Bowl
Preheat your oven to 350 degrees F (175 degrees C). Take a 2-quart ovenproof Pyrex glass mixing bowl and prepare it by greasing it with shortening and dusting it with flour. This ensures that the cake comes out clean and retains its shape when flipped onto a cake plate.
Properly preparing your bowl is essential to prevent the cake from sticking. The Pyrex glass bowl acts as the mold for the skirt part of your Barbie cake, ensuring a neat and smooth shape.
Step 2: Prepare the Cake Batter
Follow the instructions on the cake mix box to prepare the batter. Pour the prepared batter into the greased Pyrex bowl. Make sure the batter is evenly distributed to ensure the cake bakes uniformly. Using a spatula, gently spread the batter across the bottom of the bowl so it bakes smoothly.
Step 3: Bake the Cake
Bake your cake in the preheated oven for 50-60 minutes. Use a cake tester to check if your cake is fully baked. Insert the tester into the center of the cake, and if it comes out clean, your cake is ready. This ensures that your cake will have the right texture and structure to hold the shape of Barbie’s skirt.
Step 4: Cool the Cake
Remove the bowl from the oven and let it cool for 15 minutes in the bowl. After this initial cooling period, carefully invert the bowl onto a cake plate so that the widest part of the cake is on the bottom. Allow it to cool completely for at least 3 hours before attempting to decorate it. The cooling time ensures that the cake is stable enough for the assembly and decorating process.
Step 5: Insert the Barbie Doll
Once the cake has fully cooled, insert a clean Barbie doll into the center of the cake. Position the doll so that its lower half fits snugly into the cake’s core. The Barbie should stand upright and be stable to form the centerpiece of your creation
Step 6: Prepare the Frosting
Prepare about 4 cups of white frosting, either by making it from scratch or using ready-made frosting. To add a splash of creativity, you can tint the frosting with a single drop of red food coloring, which gives a lovely pink hue and adds a unique twist to Barbie’s dress design.
Step 7: Decorate the Skirt
Using a piping bag fitted with a decorator tip, start decorating the skirt portion of the Barbie doll cake. You can use different colors of icing and create intricate designs, ruffles, or swirls to make the skirt look as fancy and detailed as you like. Let your imagination run wild:
- Use different colors to make each layer stand out.
- Create patterns with piped icing swirls, flowers, and other designs.
- Add decorative elements like edible glitter, sprinkles, or small candies to make the skirt sparkle.
Don’t forget to decorate the top part of the doll as well, blending the icing seamlessly to create a cohesive look that turns Barbie into a beautiful, elegant centerpiece.
Step 8: Finishing Touches
If you want to add extra flair to the cake, consider the following finishing touches:
- Sprinkles and Glitter: Enhance the sparkle and shine to make the cake magical
- Edible Flowers: Use edible flowers for a natural and elegant touch.
- Candy Accents: Small candies can add texture and color.
How to Store the Barbie Doll Cake
- Short-Term Storage: If you plan to serve the cake within a day or two, store it in the refrigerator, covered with plastic wrap or stored in a cake dome. This prevents it from drying out.
- Long-Term Storage: For longer storage, freeze the cake without the doll. Wrap it tightly in plastic wrap and aluminum foil to maintain its shape and texture. Thaw it in the refrigerator before adding Barbie back in.
Tips for the Best Barbie Doll Cake
- Use a Stable Cake Mix: A dense cake mix ensures that the Barbie skirt doesn’t collapse.
- Cool Completely: Always let the cake cool fully before adding decorations to prevent any melting or shape distortion.
- Decorate Creatively: Use piping bags and decorator tips to create intricate designs and patterns on the skirt.
- Customize Colors: Use food coloring creatively to match party themes and color schemes
Frequently Asked Questions (FAQs)
Q: Can I use a homemade cake instead of a box mix?
A: Yes! A homemade cake can add a personal touch, but ensure it’s dense enough to support the skirt structure.
Q: Can I make a Barbie Doll Cake in different sizes?
A: Absolutely! Use larger or smaller bowls to adjust the size of your Barbie cake, and select a smaller or larger doll to match.
Q: How do I prevent the Barbie doll from toppling over?
A: Make sure the doll is securely positioned and supported by adding extra frosting around the base or using toothpicks if necessary.
How to Serve and Enjoy
- Serve your Barbie Doll Cake with themed decorations for birthdays and parties.
- Pair it with cupcakes, cookies, and party drinks for a magical dessert table setup.
- Let kids enjoy the experience by allowing them to customize or add extra decorations.
Conclusion
The Barbie Doll Cake is not only a delightful dessert centerpiece but also a fun and creative baking project that can be personalized in countless ways. From colorful icing to detailed piping work, this cake offers an opportunity to showcase creativity and culinary skills while celebrating any special occasion in style.
Whether you make it for a birthday, a baby shower, or just a whimsical gathering, your Barbie Doll Cake will impress guests with its beauty and delicious charm. Let your creativity shine through, and have fun turning an ordinary cake into a stunning centerpiece masterpiece!