
Charcuterie boards have become a favorite way to entertain guests or simply enjoy a casual meal at home. These beautifully arranged boards are more than just an appetizer; they are a versatile offering of flavors and textures that can suit any occasion. Whether you’re hosting a party, having a wine night, or looking for a simple no-cook dinner, a well-crafted charcuterie board is a fun and customizable choice. And the best part? You can make it as unique as your tastes!
In this guide, we’ll walk you through how to build your own charcuterie board, step-by-step. From selecting the right ingredients to arranging them creatively, we’ll make sure your board looks and tastes amazing.
Why You’ll Love This Charcuterie Board Recipe
Building a charcuterie board is not just about food; it’s an art form. The combination of meats, cheeses, fruits, nuts, and spreads offers a little something for everyone. Plus, it’s a fantastic opportunity to get creative with your choices and presentation. Charcuterie boards are easy to assemble, require no cooking, and are perfect for gathering friends or family together.
The Essential Ingredients for Your Charcuterie Board
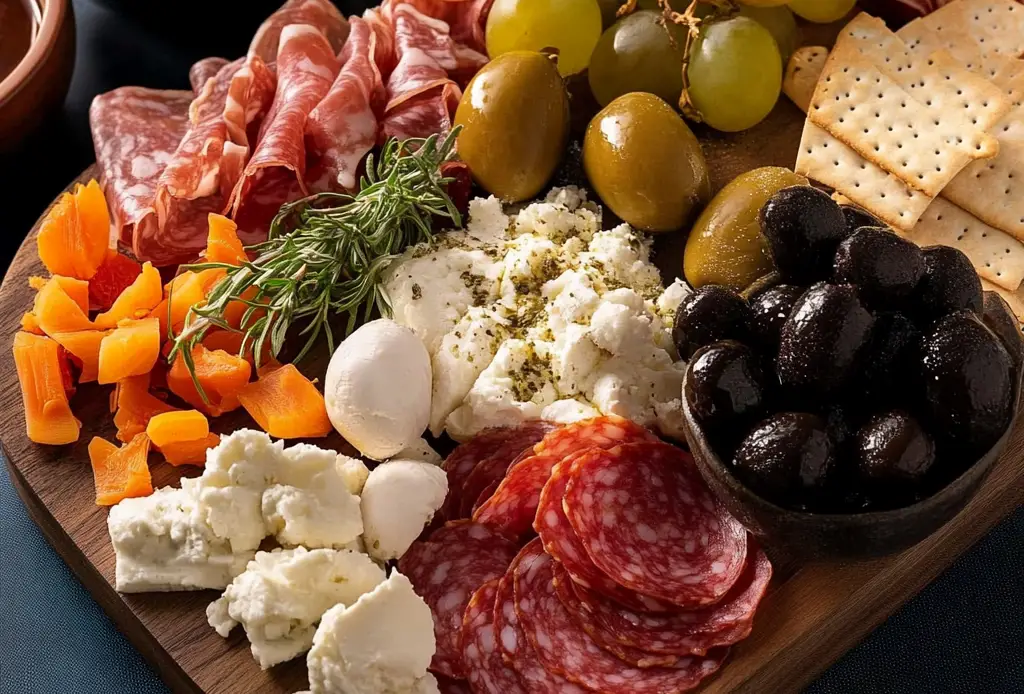
A successful charcuterie board balances a variety of textures, flavors, and colors. There’s no one-size-fits-all recipe for a perfect board, but there are essential categories to keep in mind when shopping for your ingredients. Let’s break down the categories and the must-have items that can be part of your board.
1. Cheese
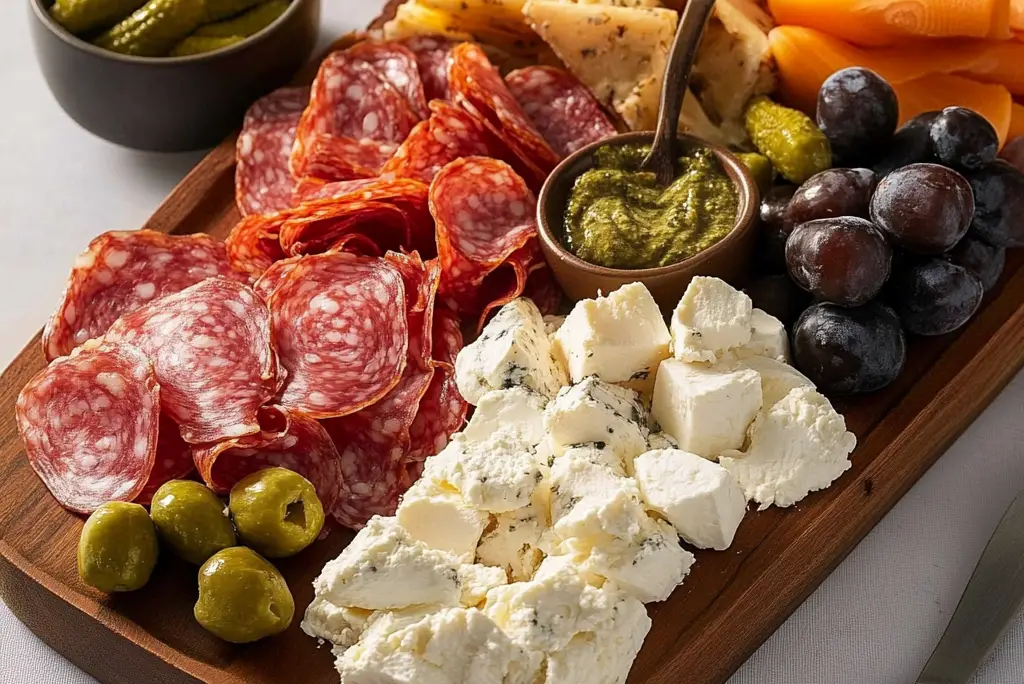
Cheese is the heart of any great charcuterie board, offering a wide range of flavors, textures, and richness. Ideally, you’ll want to offer a selection that includes soft, hard, and crumbly varieties. Here are some fantastic options to choose from:
- Soft cheeses: Brie, chèvre, camembert, Saint-André
- Hard or semisoft cheeses: Manchego, Gruyère, Comté, aged cheddar, Gouda
- Crumbly cheeses: Blue cheese, aged goat, Parmesan
- Marinated or flavored cheeses: Marinated feta, fresh mozzarella, herb-and-garlic cheese
2. Meat
The term “charcuterie” originally referred to cold and often cured cooked meats, and this category is still an essential part of the board. Here are a few options:
- Cured and sliced meats: Salami, prosciutto, serrano, Spanish chorizo
- Spreadable meats: Pâtés, rillettes, and ‘nduja (spicy sausage paste)
3. Fresh Fruits and Vegetables
Adding fresh fruits and vegetables brings color and freshness to the board. Here are some great options:
- Small grape clusters
- Berries (such as strawberries, raspberries, and blackberries)
- Sliced apples, pears, or stone fruits
- Quartered figs
- Cherry or grape tomatoes
- Sliced cucumbers
- Radishes, sliced or quartered
- Edible flowers for decoration
4. Breads and Crunchy Things
The variety of breads and crackers gives your guests something to pair with the meats, cheeses, and spreads. You’ll want a combination of soft and crunchy textures:
- Crackers
- Sliced bread
- Crostini
- Pita chips
- Nuts (almonds, cashews, pistachios)
- Pretzel chips
- Parmesan crisps
- Crunchy breadsticks
5. Spreads and Dips
Spreads and dips are essential for adding flavor and complexity to the board. Here are a few options to consider:
- Hummus
- Tapenade
- Whole-grain mustard
- Whipped cheese
- Pepper jelly
- Salted butter
6. Briny Things
Pickled items provide a sharp contrast to the rich and savory flavors of meats and cheeses, offering a delightful pop of flavor:
- Olives (green and black)
- Cornichons (small French pickles)
- Pickled vegetables (onions, carrots, etc.)
7. Sweets
Finish off your charcuterie board with a little sweetness to balance the savory elements. Here are some delicious sweet options:
- Dried fruit (apricots, figs, cranberries)
- Honey
- Fig jam
- Chocolate pieces
- Membrillo (quince paste)
- Guava paste
Tips for Arranging Your Charcuterie Board
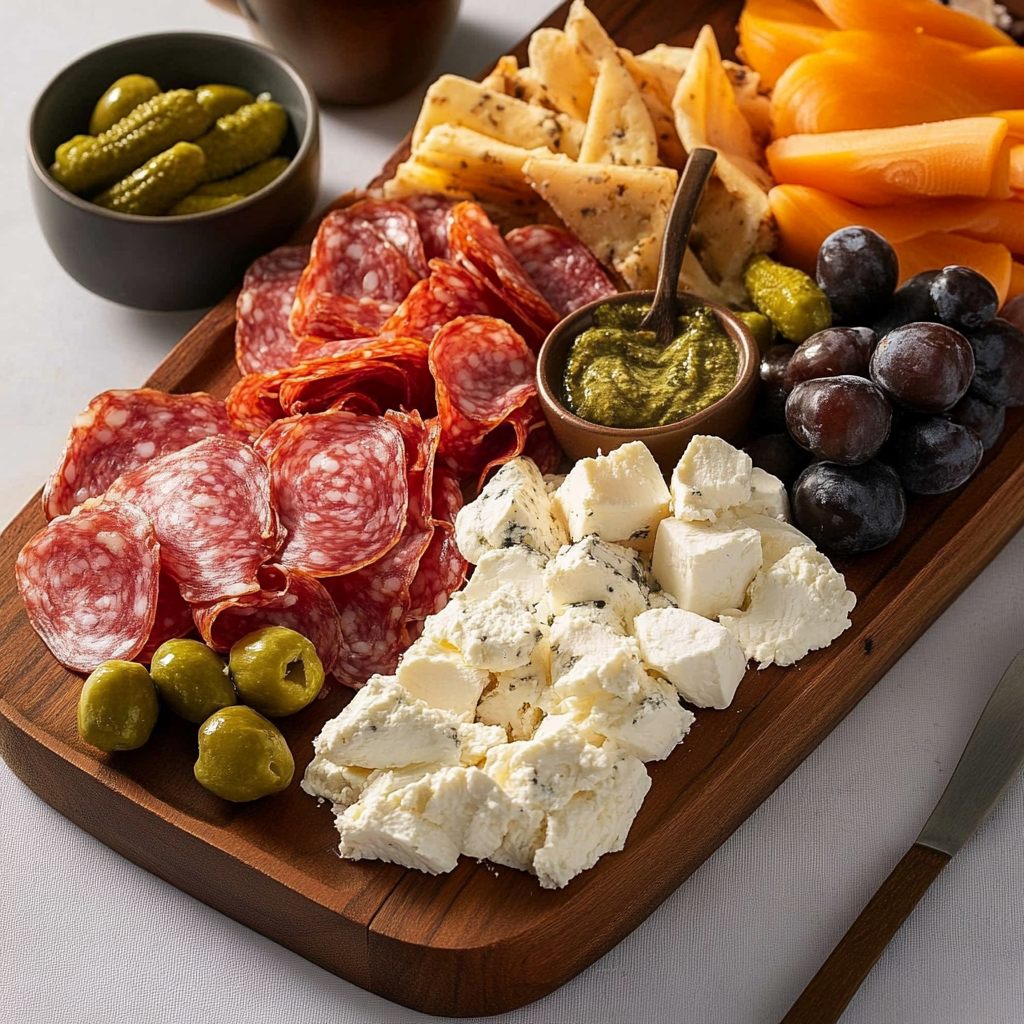
Once you have all your ingredients, the fun part begins – arranging your board! A visually appealing charcuterie board is all about balance, so here are a few tips to help you build a stunning board:
- Choose the Right Board
The size of your board is important. For a standard charcuterie spread, you’ll need a board that’s about the size of a baking sheet (13×18 inches), or you can go bigger if you’re serving a larger group. Wood, marble, or slate boards are great options, but any large, flat surface will work. - Start with Small Bowls
Place your spreads, dips, jams, and olives into small bowls to keep them organized and prevent spills. Make sure to add little spoons or knives for easy serving. - Arrange the Cheese
When placing the cheese, try to avoid overcrowding it. Cut some cheeses into wedges or cubes for easy serving, but leave others whole so people can cut them themselves. Soft cheeses like Brie and chèvre should be left whole. - Add the Meats
For the meats, instead of laying them flat, gently fold or roll the slices into attractive piles. For instance, you can fold salami into quarters and tuck them into a corner, or drape slices of prosciutto into loose piles for a fluffy, elegant look. - Fill the Gaps
Now, start filling in the empty spaces with fruits, vegetables, and nuts. Don’t worry if things look a little crowded – the more packed your board looks, the more abundant and appetizing it will seem. - Add Crunchy Elements
Place crackers, bread, and crunchy snacks on the board to fill any remaining gaps. You can also serve some of these items on the side, allowing guests to grab more as needed. - Finish with Sweets
Once the savory components are in place, add your sweet elements. Place dried fruits, honey, or chocolate in the corners or wherever they’ll provide a beautiful contrast to the rest of the board.
A Few Final Tips for a Perfect Charcuterie Board
- Board Size: If you want to scale up or down, adjust the amount and variety of ingredients accordingly. A larger board will require more variety to keep it interesting.
- Prep Before Building: Cut your cheeses, slice fruits, and prepare any dips or spreads ahead of time. Having everything ready to go will make the assembly process much smoother.
- Consider Dietary Preferences: If you have guests with dietary restrictions, consider offering gluten-free crackers or separate bowls for gluten-filled items. You can also offer vegetarian options or substitute meats for plant-based alternatives.
- Utensils: Don’t forget to provide cheese knives, spreaders, and small tongs to make it easy for guests to serve themselves without making a mess.
- Wine Pairing: A glass of wine pairs perfectly with a charcuterie board. Try serving a crisp white wine or a sparkling wine for a refreshing contrast to the rich meats and cheeses.
Frequently Asked Questions (FAQs)
1. Can I prepare a charcuterie board ahead of time? Yes, you can definitely prepare a charcuterie board in advance! Assemble the board without the bread and crackers, and cover it with plastic wrap. Store it in the fridge for up to 24 hours. When ready to serve, just add the crackers and bread, and you’re good to go.
2. How do I choose the right cheeses for a charcuterie board? Choose a variety of textures and flavors to keep things interesting. Include soft cheeses (like Brie or goat cheese), hard or semi-soft cheeses (like Manchego or Gouda), and crumbly cheeses (such as blue cheese or Parmesan). Mix mild and stronger options for a diverse tasting experience.
3. How much charcuterie should I buy for a party? For a small gathering, plan on serving about 3 to 4 ounces of meat per person and 2 to 3 ounces of cheese per person. If you’re offering a variety of other accompaniments (fruits, nuts, bread), you can reduce the amount of meat and cheese accordingly.
4. Can I make a vegetarian charcuterie board? Absolutely! Instead of meats, focus on a variety of cheeses, fruits, vegetables, spreads, nuts, and crackers. You can include olives, pickles, and even roasted vegetables for added flavor.

How to Store and Reheat
Charcuterie boards are best enjoyed fresh, but if you need to store leftovers, follow these tips:
- Store leftovers: After the party, remove any leftover meat, cheese, and other ingredients from the board and store them separately in airtight containers. Keep cheeses in the fridge, and cured meats in the fridge as well. Fresh fruits and veggies should also be refrigerated.
- How long will leftovers last? Most cheeses will last for up to a week in the fridge, while cured meats should be eaten within 3 to 5 days. Fresh fruits and veggies can last for about 2 to 3 days, depending on the type.
- Reheating: Since charcuterie boards are meant to be served cold or at room temperature, there’s no need to reheat them. However, if you have bread or crackers left over, you can refresh them by lightly toasting them in the oven for a few minutes to bring back some crispness.
Conclusion
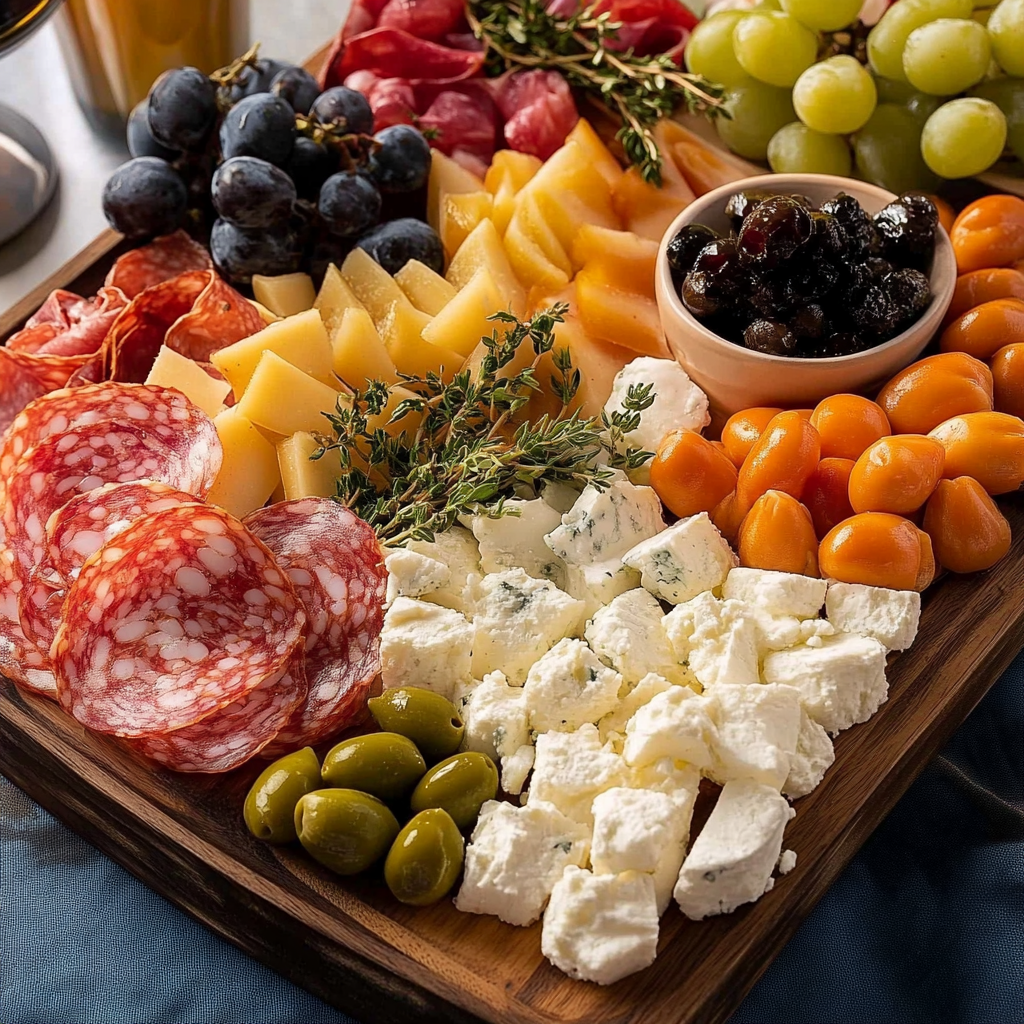
Creating the perfect charcuterie board is an art that combines both visual appeal and delicious variety. By choosing a selection of cheeses, meats, fruits, and accompaniments, you can create a stunning spread that will impress your guests and leave them coming back for more. Whether it’s for a party, a casual gathering, or a fun no-cook dinner, a well-constructed charcuterie board offers endless possibilities and opportunities to get creative. Enjoy the process of shopping, assembling, and, most importantly, eating!