

Smoking salmon is an art that combines patience, technique, and an appreciation for bold and delicate flavors. This recipe offers a dual experience, catering to both the subtle palate and those craving a punch of spice. Whether you’re entertaining friends at a backyard gathering or simply enjoying a relaxing afternoon meal, smoked salmon is the centerpiece of unforgettable moments.
Imagine tender, smoky fillets infused with a balance of sweet, salty, and spicy notes. With a homemade cure and rub, this recipe allows you to create a deeply personal dish while preserving the natural richness of fresh salmon. Smoking is not just about cooking; it’s a ritual that honors the beauty of slow preparation and precise seasoning.
Perfect for summer parties or intimate dinners, smoked salmon shines as an appetizer, main course, or even a snack. Its versatility means you can pair it with fresh salads, crusty bread, or creamy dips. This recipe takes you through every step, ensuring you achieve that perfect balance of texture, taste, and smoky goodness.
Why You’ll Love This Recipe
- Dual Flavor Profiles: Offers both a mild and spicy option to satisfy varied taste preferences.
- Customizable: Perfect for entertaining or everyday dining with flexible seasoning options.
- Versatile Uses: Serve as a main dish, appetizer, or paired with salads and sides.
- Impressive Yet Simple: Achieve gourmet results with straightforward steps.
- Smoker Highlight: Enhances salmon’s natural flavors with a smoky touch.
Ingredients Overview
The smoked salmon recipe uses fresh, high-quality salmon fillets paired with a mix of simple yet effective curing and rub ingredients. The curing blend includes granulated sugar, brown sugar, kosher salt, and crushed black peppercorns, which add a balanced sweetness and saltiness while preserving the fish.
The dry rub consists of brown sugar, coriander, paprika, black pepper, cayenne pepper, and kosher salt, creating a perfect harmony of sweet, spicy, and savory flavors. Together, these ingredients enhance the natural taste of the salmon, resulting in a smoky, tender, and flavorful masterpiece that delights every palate.

Instructions
1. Prepare Salmon for Curing
To prepare the salmon for curing, start by removing any moisture from the fish and replacing it with a salt and sugar mixture. This curing process not only adds a rich flavor but also acts as a preservative, ensuring the salmon stays fresh. Place a large baking sheet on your workspace and cover it with a thin layer of foil. On top of the foil, lay a sheet of plastic wrap and sprinkle about a third of the curing mixture onto the plastic wrap, matching the length of your fillet.
Next, lay one salmon fillet, skin-side down, onto the cure, and sprinkle another third of the curing mixture onto the flesh of the fillet. Place the second fillet, also skin-side down, on top of the first fillet’s coated flesh, and sprinkle the remaining curing mixture over it. Cover everything with another sheet of plastic wrap and foil, wrapping the fish tightly to contain any juices or oils that may escape during curing. Place a second baking sheet on top of the wrapped fish and weigh it down with heavy items like books or canned goods to ensure proper contact with the curing mixture.
2. Cure the Salmon
Place the wrapped salmon in the refrigerator and let it cure for 8-10 hours. If your salmon fillet is thin (less than an inch), aim for 8 hours of curing. For thicker fillets, you can let them cure up to 10 hours. Avoid curing the fish for more than 12 hours, especially if you have sensitive taste buds. Set a timer to go off after 8 hours as a reminder. The curing process removes moisture from the fish and replaces it with the salt and sugar mixture, enhancing flavor while also preserving the fish.
3. Rinse the Salmon
After curing the salmon, take it out of the refrigerator and carefully remove the foil. You should see a bright, juicy red piece of salmon. Rinse the fillets thoroughly under cold water, ensuring that any remaining curing mixture not absorbed by the fish is completely washed off. This prevents an overly salty taste. Pat the salmon dry with napkins or paper towels, removing any moisture to get it ready for the dry rub application.
4. Rub the Salmon with Dry Rub
Next, prepare your dry rub by combining the ingredients until well blended. Take one of the salmon fillets and pat it dry if needed. Apply a thin layer of the dry rub onto the flesh side of the fillet, dusting off any excess. Repeat the same process with the second fillet. You can choose to leave the second fillet unseasoned to provide an option for guests with more delicate palates.
5. Dry the Salmon
Allow the salmon fillets to dry at room temperature for 1-3 hours. This drying phase forms a thin, dry, matte-like film on the surface of the fish called a pellicle. The pellicle helps the smoke adhere better during the smoking process. It’s difficult to see this layer when the fish is covered in dry rub, so use an un-seasoned portion of one fillet as a reference point to determine when the drying process is complete.
6. Prepare the Smoker
Prepare your smoker while the fish finishes drying. You want to maintain a temperature of 150-160°F. This low temperature can be tricky to achieve with some smokers, so reduce the fuel by using less charcoal and hardwood than usual for higher temperatures. For smoking salmon, use applewood, which pairs excellently with the curing mixture and rubs you’ve already added.
7. Smoke the Salmon
Place the salmon fillets skin-side down in your smoker. The smoking process typically takes 1-3 hours, depending on the thickness and quantity of the fish. The salmon is ready when it reaches an internal temperature of 140°F at its thickest point. This ensures a perfectly smoked texture and flavor.
8. Rest the Salmon
Once the salmon reaches 140°F, take it out of the smoker and place it on a baking sheet. Tent it loosely with foil and let it rest for about 20-30 minutes. This resting period allows the salmon to retain more moisture, and the temperature rises slightly, relaxing the muscles and redistributing the juices within the fillet.
9. Enjoy the Salmon
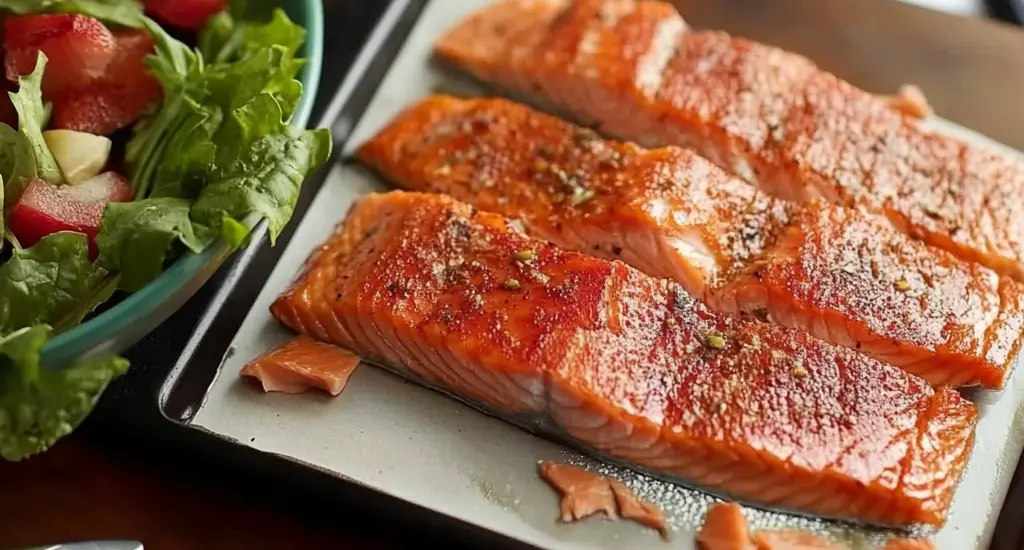
Remove the tented foil and serve your beautifully smoked salmon. The un-seasoned fillet offers a clean, delicate taste, while the spice rub provides a robust, slightly peppery kick balanced with the sweetness of brown sugar and the earthy touch of coriander. Pair your salmon with a glass of rosé wine or a cold wit beer, and share it with friends, or enjoy it solo with leftovers that can elevate your meals throughout the week
Tips for the Best Smoked Salmon
- Homemade Rubs and Cures: Tailor the recipe to your taste with custom seasonings.
- Choose Fresh Salmon: Opt for wild-caught fillets for the best flavor.
- Control the Temperature: A consistent low temperature is crucial for perfect smoking.
- Pellicle Formation: Don’t skip drying the fish; it enhances the smoky flavor.

Variations to Try
- Maple-Glazed Salmon: Add maple syrup to the rub for a sweet twist.
- Herbaceous Delight: Incorporate dill or parsley into the rub for fresh herbal notes.
- Asian-Inspired: Use soy sauce, ginger, and sesame seeds for an umami-packed version.
Frequently Asked Questions
Q: Can I use frozen salmon for smoking?
A: Yes! Thaw the salmon completely and make sure it’s dry before curing and smoking.
Q: How do I store leftover smoked salmon?
A: Wrap it tightly in plastic wrap or foil and store it in an airtight container in the fridge for up to 5 days.
Q: Is smoking salmon difficult to do at home?
A: No! With a good smoker, a temperature probe, and fresh ingredients, anyone can create delicious smoked salmon at home.
How to Store and Reheat
- Storage: Store smoked salmon in an airtight container or tightly wrapped in foil in the refrigerator.
- Reheating: To reheat, place in a low-temperature oven (250°F) for a few minutes, or enjoy it cold in salads or sandwiches.
Conclusion
Smoking salmon at home may seem intricate, but with careful attention and love for the process, it becomes a rewarding culinary experience. The balance of curing, drying, smoking, and seasoning brings out the natural richness of the fish while allowing you to customize it to your taste.
If you love creating gourmet dishes and appreciate the art of slow cooking, this smoked salmon recipe is a must-try. Follow us on Pinterest for more inspiration and recipes that will elevate your kitchen adventures and bring friends and family together around unforgettable meals.